My neighbor has a 55-pound Lab mix named Chester who has been yanking her arm out of the socket for three years. She tried a prong collar once (returned it, hated how it felt). She tried a head halter (Chester rubbed his face on the ground the entire walk). She bought a padded back-clip harness that made him pull harder because it sat across his chest like a sled harness. Last month she switched to the PetSafe Easy Walk No-Pull Harness and asked me to walk her through fitting it. One week later she texted me a video of Chester heeling like a Golden in an obedience video. The harness did not train Chester. But it changed the physics of the walk enough that his existing manners finally had a chance to show.
Front-clip no-pull harnesses work by redirecting your dog toward you when he surges forward. The leash attaches at the chest, not the back. When the dog pulls, the pressure turns his body sideways, breaking his forward momentum and making it physically awkward to keep charging ahead. That is the mechanism. But the harness only works if it fits correctly, if you introduce it the right way, and if you reinforce the walking behavior you actually want. This guide covers all three.
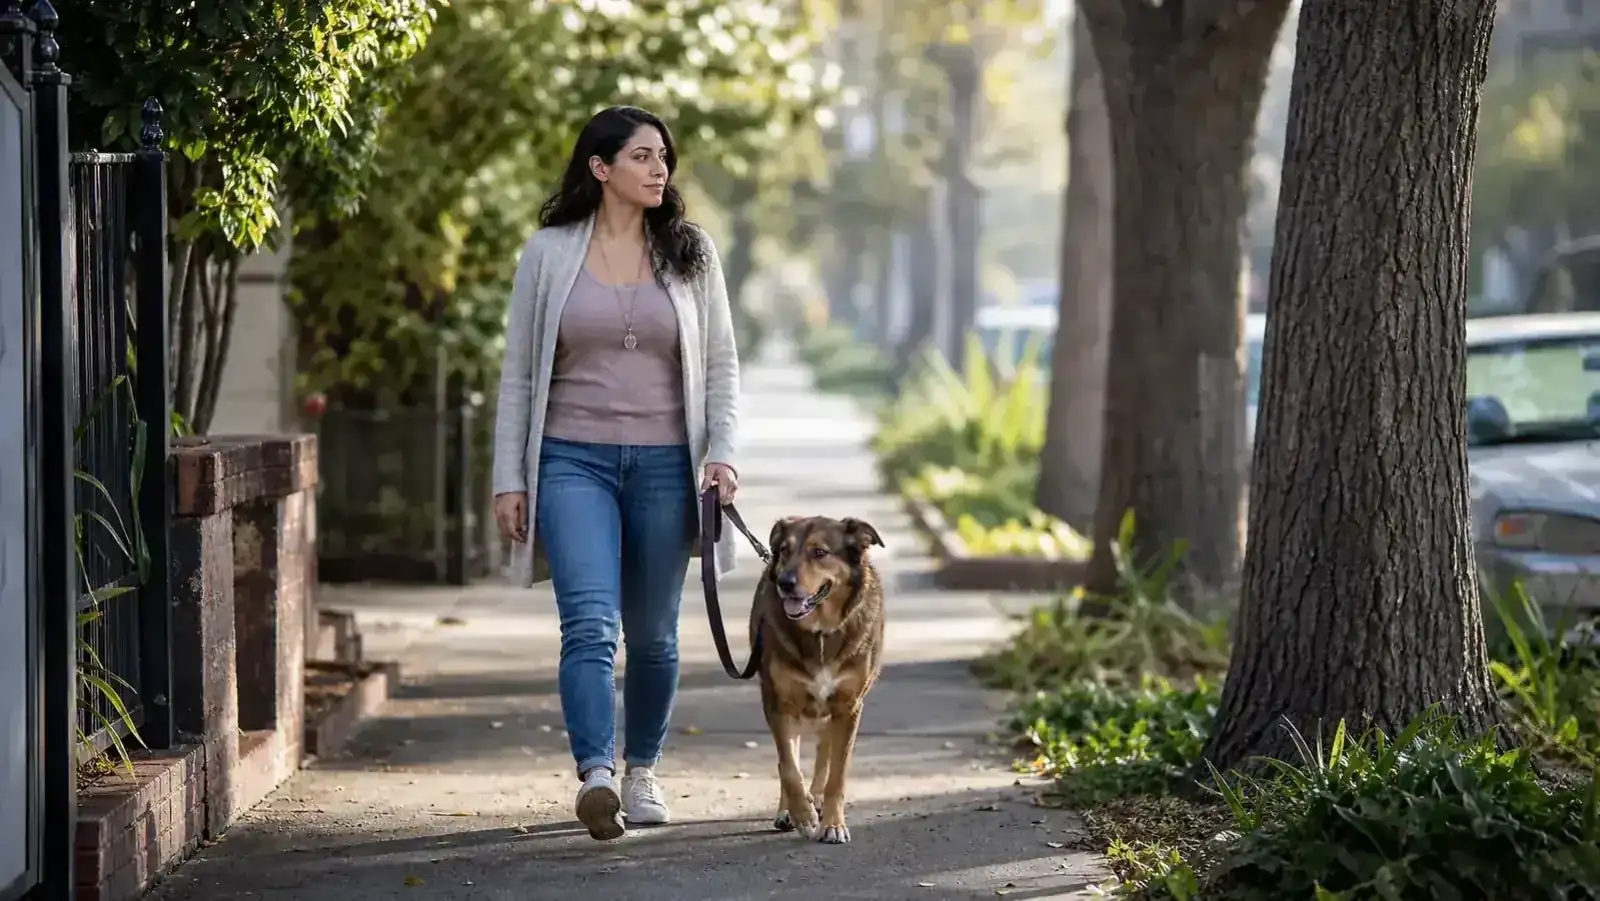
If Chester's story sounds familiar, this is the harness that changed our walks.
The PetSafe Easy Walk has 48,000+ reviews and comes in sizes from XS to XL. It fits most breeds right out of the box and takes about three minutes to adjust. Check today's price and size guide on Amazon.
Amazon Check Today's Price on Amazon →Before You Start: Why a Front-Clip Harness Works (and a Back-Clip Doesn't)
Standard back-clip harnesses were designed for sled dogs. The leash attaches between the shoulder blades, which is the one spot where a dog can lean into pressure and pull with maximum force. If your dog is already a puller, a back-clip harness will make things worse. It is not a training tool. It is just a way to attach a leash without choking the dog.
A front-clip harness like the PetSafe Easy Walk puts the leash attachment at the center of the chest. When the dog hits the end of the leash, the pressure comes from the front rather than from behind. His body naturally swings toward you. He cannot get purchase to keep surging forward because his own momentum turns him around. This is not painful, and it is not punishment. It is physics. You are removing the mechanical advantage the dog had when you were clipping to his back.
Step 1: Pick the Right Size and Do a Dry Fit Before the Walk
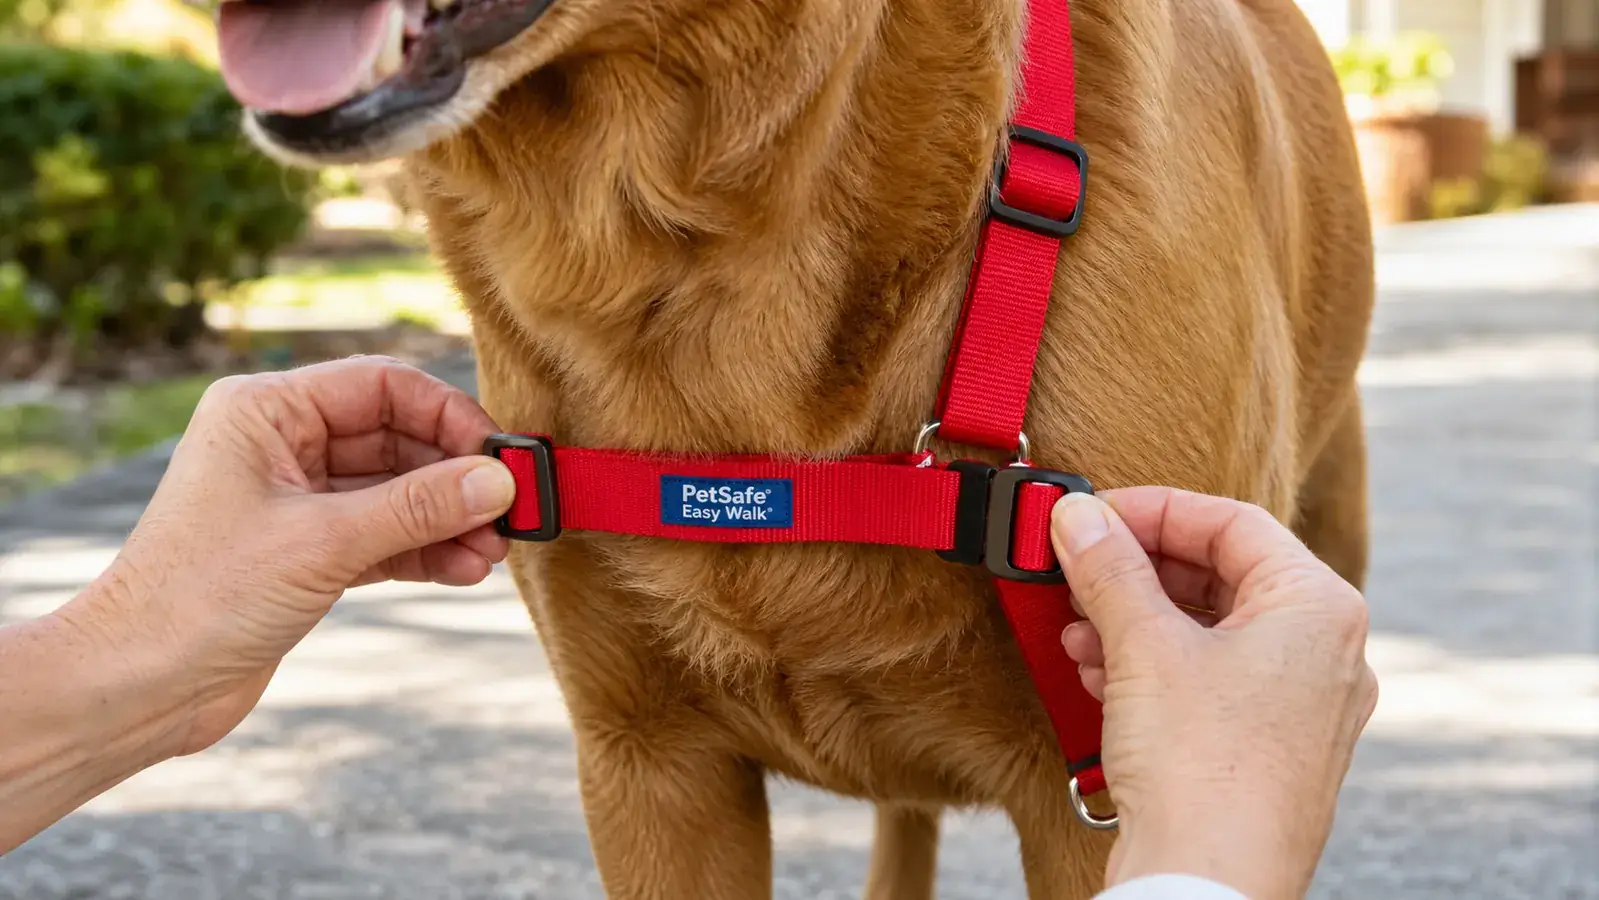
The PetSafe Easy Walk comes in XS, S, M, M/L, L, and XL. PetSafe sizes by chest girth, not by weight. Measure around the widest part of your dog's chest, just behind the front legs, with a soft tape measure. If you are between sizes, go up. A harness that is too tight will rub the armpits and cause sores. A harness that is too loose will shift, flip sideways, and let the dog step out of it.
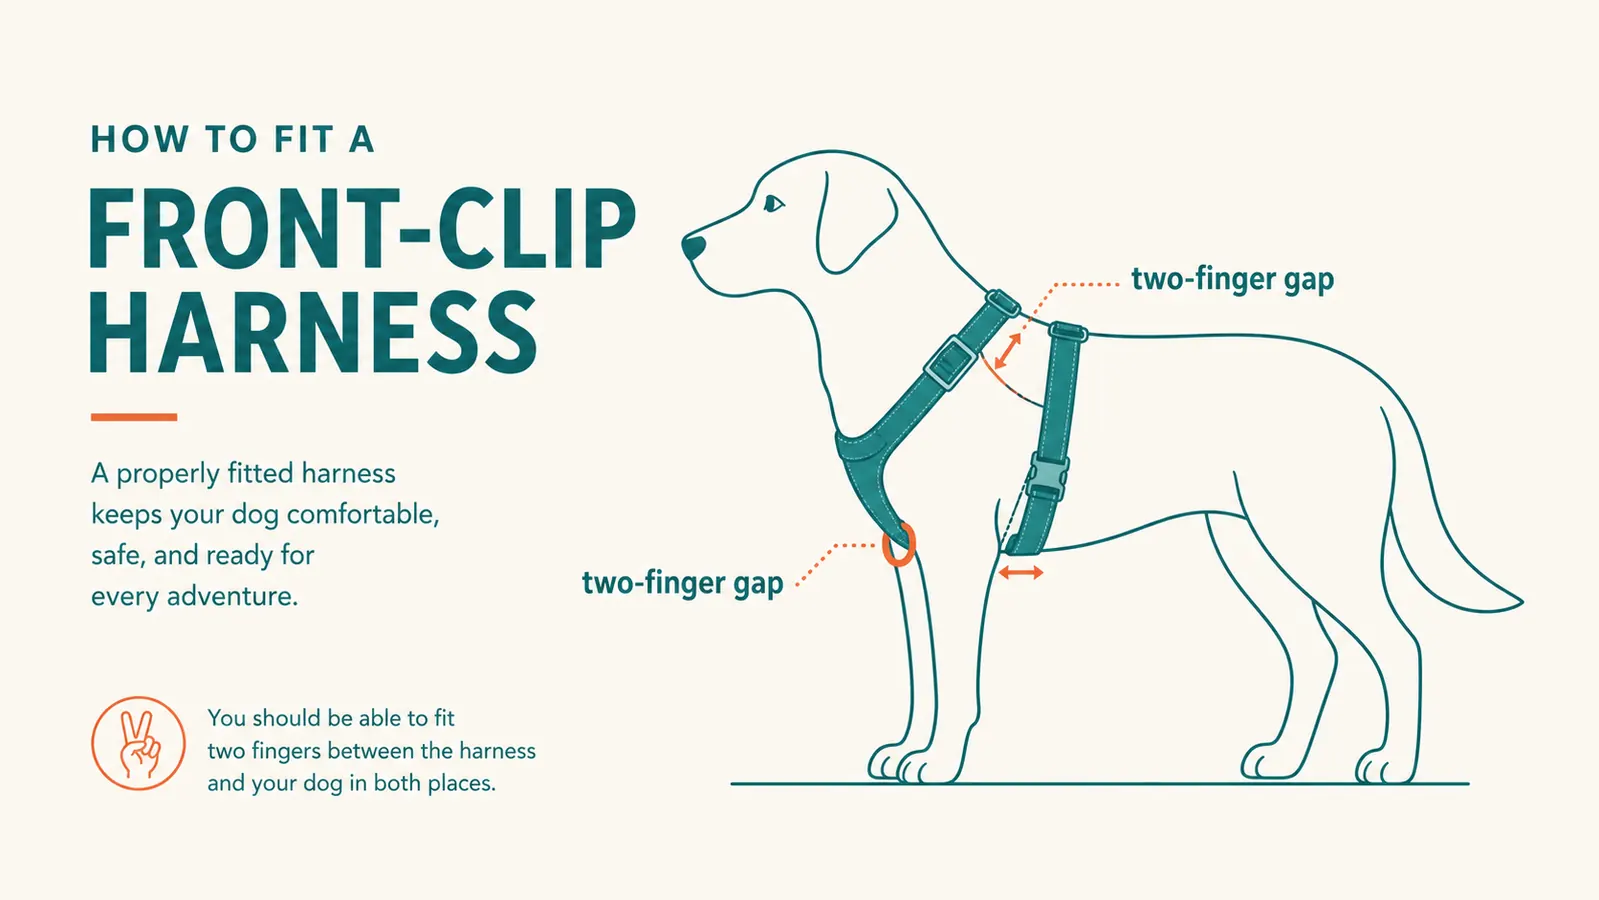
Lay the harness on a flat surface and identify the four pieces: two shoulder loops, a belly strap, and the chest strap with the front D-ring. The chest strap is the most important piece for fit. When the harness is on and adjusted, you want to be able to slide two fingers flat under the chest strap, with the D-ring sitting at the center of the dog's breastbone, not up near the throat and not down near the legs. Do this fitting inside the house or in the yard before you head out for a walk. Chasing fit issues on a sidewalk while your dog is already amped up is a losing situation.
Check the shoulder straps: they should sit about an inch behind the point of the shoulder, not pressing directly on the shoulder joint. If the harness is pinching the armpit during movement, loosen the shoulder straps one notch. After your first walk, check the armpits for any red marks. A little rubbing on the first walk is normal; raw skin after every walk is not.
Step 2: Introduce the Harness Without the Walk First
Dogs who have never worn a no-pull harness often find the chest strap uncomfortable the first time, not because it hurts but because it feels different. The strap crosses the front of the body in a way a flat collar never does. If you put the harness on for the first time in the front yard and then expect a calm walk, you may get a dog who spends the first ten minutes trying to rub the harness off his chest on the grass.
Spend five minutes, two or three times, just putting the harness on inside the house. Treat every buckle click. Let the dog walk around the kitchen in it. Feed dinner with the harness on. The goal is to make the harness a neutral or positive signal before you add the complexity of the walk. For most dogs this takes three to five sessions. For a dog who is already anxious about handling or has had bad experiences with training equipment, give it longer. There is no deadline.
Step 3: Use the Right Leash and the Right Hand Position
A six-foot flat leash is the right tool here. Retractable leashes defeat the purpose of a no-pull harness completely. The dog on a retractable learns that there is always more leash to take, so pulling gets rewarded with forward progress. A six-foot flat leash lets you set a consistent boundary for how far ahead the dog is allowed to range.
Hold the leash in the hand opposite the side your dog walks on. If your dog walks on your left, hold the leash in your right hand. Gather any excess leash so you are not dropping coils of it on the ground. The leash should form a loose J shape between your hand and the dog's chest clip. As soon as that J straightens out into a taut line, the dog is at the limit of his range and about to feel the redirection. You are not jerking the leash. You are simply not letting it extend further.
Some trainers recommend attaching the leash to both the front clip and the back clip at the same time using a coupler. This reduces the degree to which the harness swings the dog around, which can be helpful for dogs who find the full redirection disorienting. For most moderate pullers, front clip only is enough.
Step 4: Handle the Pull the Moment It Happens
The most common mistake with a front-clip harness is letting the dog get three feet past the end of the leash before you respond. The harness handles the redirection mechanically, but you still need to stop walking the moment the leash goes taut. Your movement is the reward. When the dog pulls and you keep walking, even for two more steps, you have just paid him for pulling. Stop. Let the harness do its job. Wait for the leash to go slack and for the dog to look back at you, even for a second. Then take one step forward and repeat.
This is slow at first. On the first walk with Chester, my neighbor covered half a block in twenty minutes. That is normal. The dog is learning that forward progress only happens when the leash is loose. Most dogs pick this up faster than you'd expect, because the consequence is clear and consistent. Pulling stops the walk. Loose leash restarts it.
Stop the moment the leash goes taut. Your movement is the reward. If the dog pulls and you keep walking, you paid him for pulling.
Step 5: Add a Loose-Leash Cue and Start Rewarding Check-Ins
The harness reduces pulling by making it uncomfortable and unproductive. But you also want to build the behavior you actually want, which is a dog who chooses to walk near you because it is more interesting than charging ahead. That is where treats and a simple cue come in.
Pick one word: 'easy,' 'with me,' or 'let's go.' Use it calmly every time you start walking again after a stop. Carry small, low-odor treats in your pocket. Every time your dog glances up at you while walking, or voluntarily curves back toward your hip, say 'yes' quietly and drop a treat at your feet. You are marking the moment he chose proximity over pulling. Over a few weeks of consistent walks, this becomes a habit. The dog is no longer pulling because there is nothing good up ahead that is better than checking in with you.
You do not need to treat every single step forever. As the behavior solidifies, you can thin the treat rate down to every three or four check-ins, then to random reinforcement. But in the first two to three weeks, be generous. You are building a new pattern over an old one, and that takes repetition.
What Else Helps
A few things make the harness work better and the training stick faster. Shorter walks at higher frequency beat long marathon walks where the dog spends the first mile pulling before he tires out. Three fifteen-minute walks will produce faster progress than one forty-five-minute walk where the dog gets to practice pulling for the first half. If your dog is very high energy, tire him out a bit with fetch or tug in the yard before walking. You will have a more focused student.
Practice the stop-and-restart in low-distraction areas first, where there are no squirrels, dogs, or exciting smells pulling his attention away. Once the behavior is solid in quiet environments, you can introduce more challenging routes. Trying to train a brand-new behavior in front of a dog park is like trying to learn a new skill during a fire drill.
The harness also works better for dogs who are otherwise comfortable being handled. If your dog freezes or fights when you clip buckles or adjust straps, pair every touch point with a treat until the handling itself is no longer stressful. A dog who is braced against you when you put the harness on is already primed to pull before you leave the driveway.
One honest note: the PetSafe Easy Walk does have a weak spot. The plastic buckles on the chest strap are the first thing to wear out with heavy daily use. On a 90-pound dog who pulls hard for the first few months of training, I have seen the chest strap buckle crack around the four-month mark. It is worth checking it monthly and replacing the harness if you see stress marks on the plastic. PetSafe sells replacement harnesses at a reasonable price, and the cost is much lower than a chiropractic visit from getting your shoulder yanked.
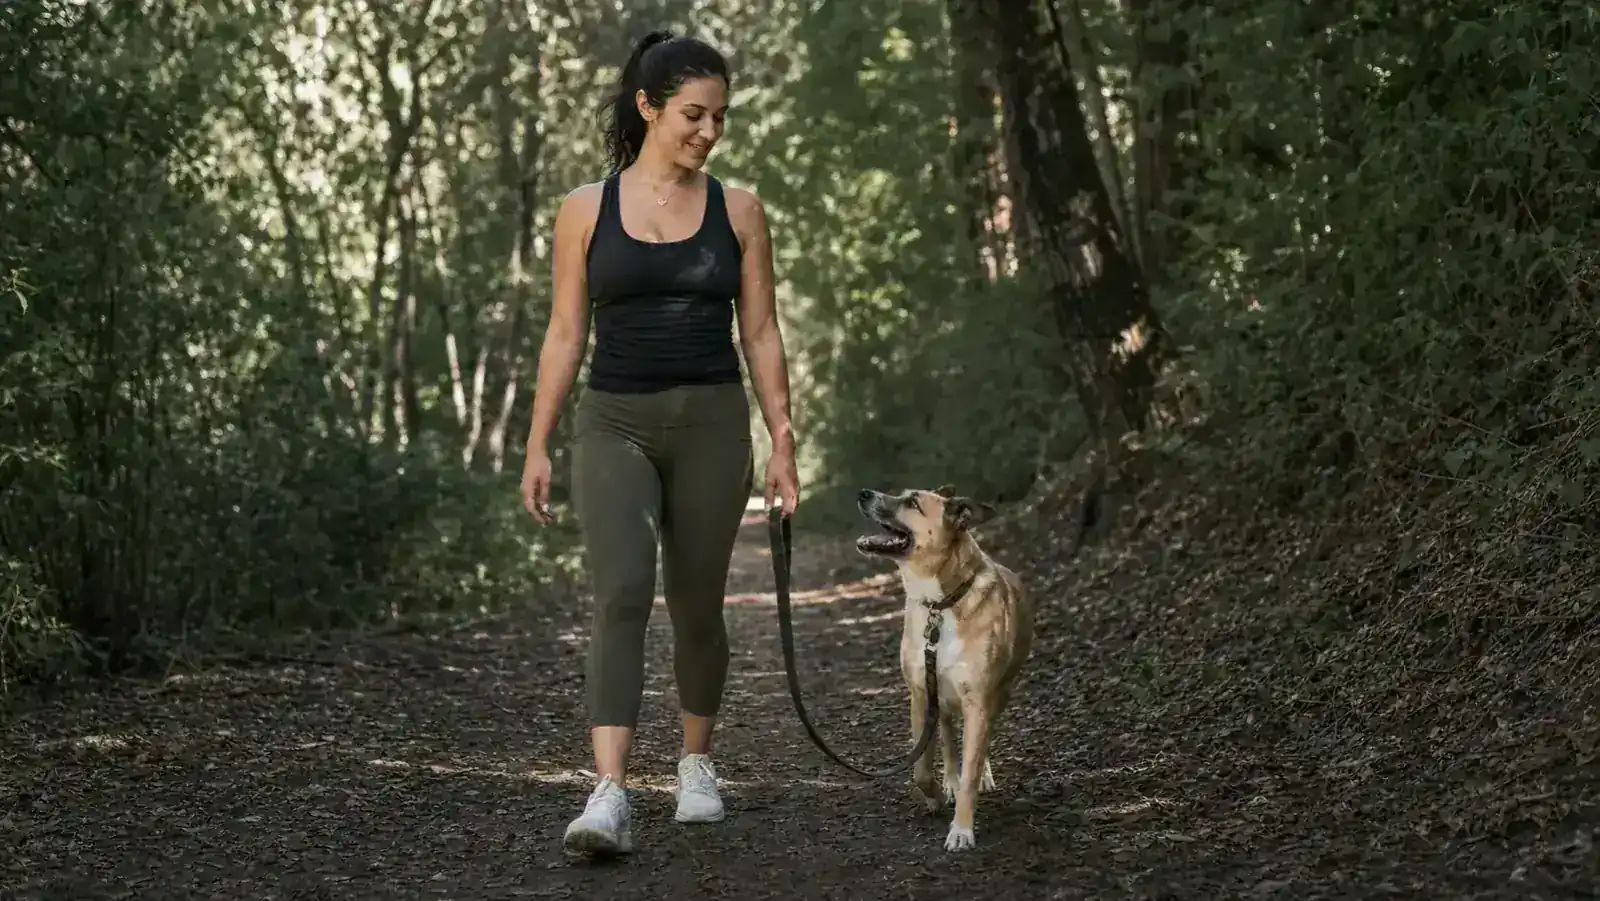
The PetSafe Easy Walk is the harness I recommend first to every puller I see at the park.
It comes in six sizes for dogs from small breeds to 100+ pounds. Over 48,000 reviews and currently available on Amazon with same-day shipping for Prime members. Check the current price and size chart before you order.
Amazon Check Today's Price on Amazon →